Setting Up BlackArch Linux: My Journey from Frustration to Mastery
Introduction
A few months ago, I decided to try setting up BlackArch Linux, a penetration testing distribution based on Arch Linux. However, as someone with only moderate experience in Linux, I quickly found myself overwhelmed. The complexity of the setup process and my unfamiliarity with Arch-based systems left me frustrated, and I ultimately abandoned the project. Fast forward to today, and I’m happy to say that after revisiting the official BlackArch documentation, I successfully set up the system, connected to Wi-Fi, and added a new user, “admirux.” This post will guide you through the process that I followed, offering insights and tips based on my experience.
What is BlackArch Linux?
Before diving into the setup process, it’s essential to understand what BlackArch Linux is and why you might want to use it. BlackArch Linux is a distribution aimed at security researchers and penetration testers. It comes with a vast array of security tools (over 2700), making it a powerful tool for anyone involved in cybersecurity. Unlike more user-friendly distributions, BlackArch is based on Arch Linux, known for its simplicity, transparency, and DIY approach. This simplicity, however, often translates into a steep learning curve, especially for those unfamiliar with Arch.
Step 1: Preparing for Installation
Hardware Requirements
The first step in setting up BlackArch Linux is ensuring that your system meets the necessary hardware requirements. While BlackArch is lightweight and can run on most modern systems, it’s always a good idea to check the official documentation for the minimum and recommended specifications. At a minimum, you’ll need:
- A 64-bit processor.
- 2 GB of RAM (though more is recommended if you’re running additional services or tools).
- 20 GB of free disk space.
- An internet connection (preferably Ethernet for the installation).
Downloading the ISO
Once you’ve confirmed that your hardware is compatible, you’ll need to download the BlackArch Linux ISO. Head over to the official BlackArch website and choose the appropriate ISO file. There are different versions available, including a netinstall ISO (which downloads the required packages during installation) and a live ISO (which contains all the packages on the disk). For my installation, I used the live ISO, as it allowed me to explore the system before committing to a full install.
Step 2: Installing BlackArch Linux
Starting the Installation
After obtaining the ISO, you can proceed directly to the installation process if you have an existing Linux system or are using a virtual environment that supports mounting ISOs directly. Once you’re ready, start the installation process by opening a terminal and following the installation instructions provided in the BlackArch documentation. The installation process will guide you through several steps, from setting up partitions to configuring the base system.
Partitioning the Disk
One of the trickiest parts of setting up BlackArch Linux is partitioning your disk. The installer offers various options, but if you’re not comfortable with partitioning manually, you can let the installer handle it for you.
However, if you prefer a custom setup, you’ll need to:
- Create the necessary partitions for your disk, typically including a root partition for the system, a home partition for user files, and optionally a swap partition for additional memory.
- Format the partitions accordingly and mount them to their respective directories.
For example, you might create a root partition (“/”) for the system files, a home partition (“/home”) for user data, and a swap partition to assist with memory management.
Installing the Base System
With the partitions set up, the installer will guide you through the installation of the base system. This step involves selecting the packages that make up the core of your BlackArch installation. Since BlackArch is based on Arch Linux, the package manager pacman is used to install and manage software.
Configuring the System
After installing the base system, you’ll need to configure various system settings:
- Set the Time Zone: Choose your local time zone to ensure the system clock is accurate.
- Generate the Locale: Configure the system locale to match your language and regional settings.
- Set the Hostname: Choose a hostname for your computer, which will identify it on a network.
- Install the Bootloader: Depending on your setup, you’ll need to install a bootloader to allow the system to start correctly. The installer typically recommends
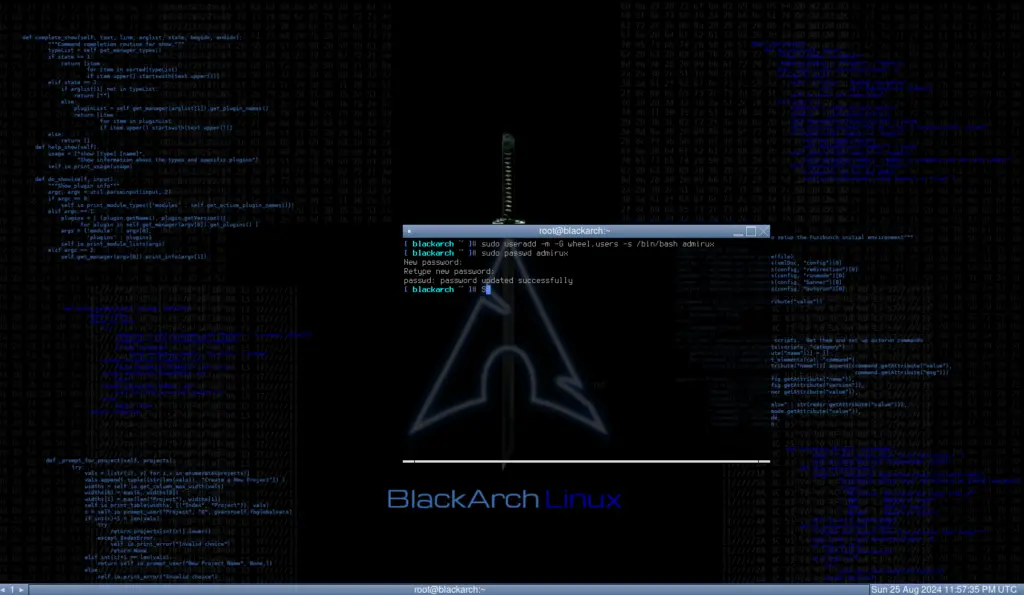
grubfor most setups. - Create a User: Finally, create a new user account for everyday use. I created a user named “admirux” and added them to the necessary user groups to allow for administrative tasks.
Rebooting
Once everything is set up, it’s time to reboot the system. After rebooting, if everything went well, you should boot into your newly installed BlackArch Linux system.
Step 3: Post-Installation Tasks
Connecting to Wi-Fi
One of my initial struggles was connecting to Wi-Fi, but the official documentation provided clear instructions. To connect to Wi-Fi, you can use the built-in network management tools:
- Identify the network interface to use for connecting to Wi-Fi. Use command iplink, it should say give your wireless devices name.
- Scan for available Wi-Fi networks.
- Select your Wi-Fi network and enter the password when prompted.
Once connected, you can test the connection by pinging a website or browsing the internet.
Updating the System
After successfully connecting to the internet, the first thing you should do is update your system. This step ensures that you have the latest software versions and security patches. Use the package manager to synchronize your system with the latest packages available in the repositories.
Installing Essential Tools
BlackArch comes pre-installed with numerous tools, but there might be additional packages or tools you need for your specific use case. The package manager makes it easy to install any additional software you might need.
For example, I installed essential tools like Vim for text editing, Git for version control, and Htop for monitoring system performance.
Enabling AUR (Optional)
The Arch User Repository (AUR) contains many user-submitted packages that are not available in the official repositories. If you want to enable AUR support, you’ll need to install an AUR helper like yay, which simplifies the process of installing and managing AUR packages.
Conclusion
Setting up BlackArch Linux was a challenging but rewarding experience. A few months ago, I would have been lost in the complexity of the installation process, but the official documentation provided me with the guidance I needed to navigate through it. From partitioning the disk, installing the base system, and configuring essential settings, every step brought me closer to mastering this powerful Linux distribution.
For anyone considering BlackArch, I highly recommend taking the time to read through the documentation and not rushing the installation process. With patience and careful attention to detail, you too can transform a frustrating experience into one of success.
Now that I have a fully functional BlackArch system, I’m excited to start exploring the tools and capabilities it offers. Whether you’re a seasoned penetration tester or a curious Linux enthusiast, BlackArch Linux is a distribution that’s worth the effort to learn and master. Happy hacking!
Share via: